Building responsive multi-language website with blog and static pages using October CMS - part 2
Posted in Tutorials on Aug 01, 2016
In the first part of this tutorial we created a website with translatable navigation and content blocks. This article finishes the tutorial by extending the website with a translatable blog.
The features we're going to add are:
- Blog page - contains a list of blog posts and categories.
- Blog post page.
- Blog category page.
- Add a link to the homepage to show the latest post.
In addition to the plugins the project already uses, we should add another free plugin:
-

RainLab Blog plugin
Flexible blogging platform. You can use any Markdown syntax and some special tags for embedding images and videos (requires the RainLab Blog Video plugin)
Thanks to the Translate plugin, the RainLab Blog plugin is fully translatable, which means you can translate categories, post titles and post content. The plugin has detailed documentation and everything described in this article is covered in the documentation.
The Blog plugin should be installed before you continue the tutorial. It makes sense to create a few dummy blog posts and categories for testing purposes. Make sure the posts are published, otherwise they won't be visible on the front-end.
Creating the blog page
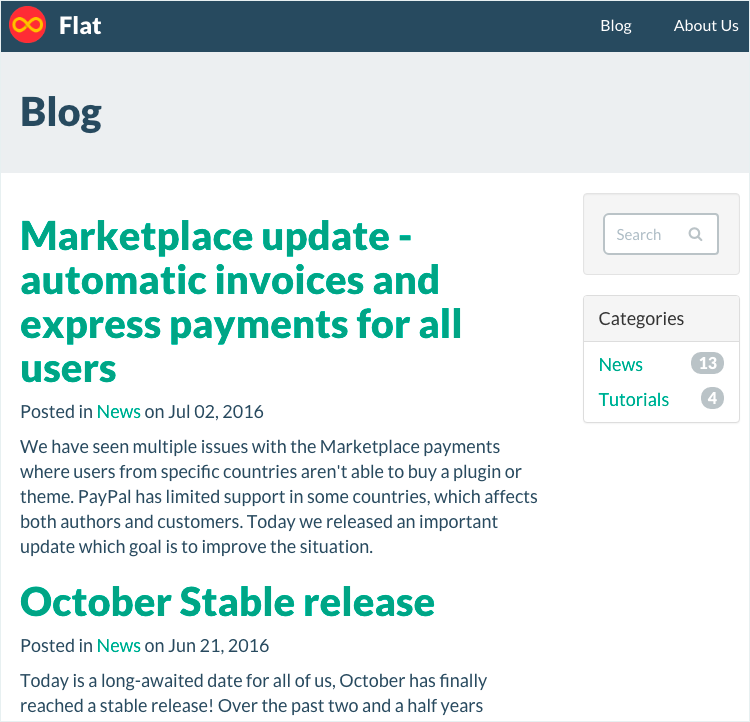
The blog home page should display a list of published blog posts (including pagination) and a category list. The Flat UI theme already contains a blog post page with some demo contents which is going to be replaced with real posts.
The Blog plugin provides a component called Post List that is responsible for displaying a list of blog posts. This flexible component can display all published posts, or posts belonging to a specific category.
Open the blog/blog page in the CMS. Clean up the page by removing all the demo contents, namely the sections under comment blocks "Blog Post #1", "Blog Post #2" and "Pagination".
Find the Post List component in the component list on the CMS sidebar and drag it to the code editor, to the place where you just removed the demo contents from. You should see something like this:
<div class="col-sm-9">
    {% component 'blogPosts' %}

    <div class="clearfix"></div>
</div>
As the blog page requires pagination, there should be a corresponding optional parameter in the page's URL template. Replace the URL value with url = "/blog/:page?". The :page parameter is recognized by the Post List component by default, so no extra configuration is needed.
As a side note about URL parameter names, most components that require URL parameters allow flexible parameter names. That means the "page" parameter can be called something else if you wish, this is possible by changing the Post List component configuration. Supported URL parameters and how to change them are described in the plugins' documentation.
Save the page and click Preview button in the CMS page editor to open the page in a separate browser tab. If you followed the instructions you will see your blog posts and pagination widget, obviously requiring some CSS styling.
If you don't like the default markup generated by the Post List component, October lets you override it with a special partial. Alternatively, if you put your caret on the "component" word in the CMS code editor, you can click the small component code expansion button in the top left corner of the code editor. The button inserts the default component's markup to the editor for inline editing. This handy feature works with any component in October CMS.
Creating the category list
The blog home page refers to the blog/sidebar partial, which displays the category list. Initially it outputs some demo contents that should be removed first.
Open blog/sidebar in the CMS Partials tab and remove the UL element from the partial code. Find Category List in the CMS component list and drag it in to place where you removed the UL element:
<div class="panel panel-default">
    <div class="panel-heading">
        Categories
    </div>
    {% component 'blogCategories' %}
</div>
Save the partial and refresh the /blog front-end page. The side bar now displays real category names. You will notice that the category links point nowhere. The category page doesn't exist yet, so in the next section we'll fix that.
By the way, the search feature is not supported by the Blog plugin yet. You can still use Google site search service to implement search on your website.
Creating the category page
There is no blog category page in the Flat theme so we're going to create it from scratch. The category page is not very different from the blog home page. It displays a list of blog posts with pagination, but blog posts belong to a specific category.
In the CMS, go to the Pages sidebar tab and click Add. Enter "Blog category" in the Title field and /blog/category/:slug/:page? in the URL field (the URL template is copied directly from the Blog plugin documentation). Enter "blog/category" in the File Name field. Select default for the layout drop-down and save the page.
Copy the markup code from the blog home page and paste it in the blog category page. The code refers to the Post List component, it should be added to the category page separately. In the CMS components list, click the Post List component to add it to the page.
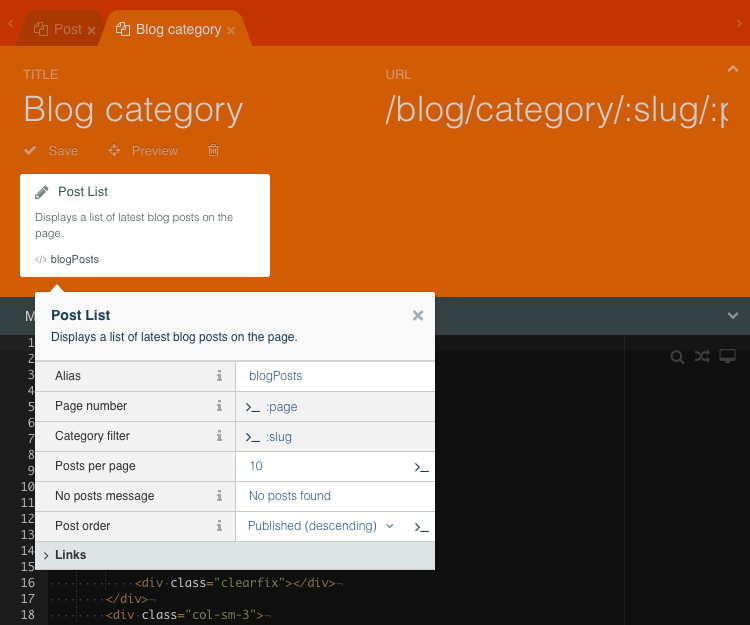
The Post List component should be configured to display only posts belonging to a specific category. The category slug is passed though the URL parameter, the :slug part of the URL template. Click the component, click the >_ icon in the Category filter property and enter :slug. Close the component Inspector and save the page.
It's preferable to display the category name in the page header, so replace the line
<h3>Blog</h3>with some more dynamic content
{% if not category %}
    <h3>Category not found</h3>
{% else %}
    <h3>{{ category.name }}</h3>
{% endif %}
You can use the same trick to hide the post list, otherwise it will display all published blog posts.
Now we have the category page configured, but category links on the blog home page and in the sidebar still point to nowhere. Let's fix that.
Return to the blog home page (blog/blog) and click the Post List component. Expand the Links property group, find Category Page property and select the category page you just created. Close the Inspector and save the page. Do the same with the Category List component on the blog/sidebar partial.
Refresh the blog page and make sure that category links work, the category page should display filtered posts.
Creating the blog post page
The blog post page already exists in the theme. Click blog/post page in the CMS page list and remove the demo content under the Blog Post #1 and Pagination comments.
The Blog plugin provides the Post component, which can display a blog post referred to in the requested page URL. Drag the component from the CMS component list to the place in the page code where you removed the demo content.
The default URL parameter name for the post slug is "slug". Replace value in the page's URL field with '/blog/post/:slug' and save the page. Also replace the <h3>Blog Post</h3> line with <h3>{{ post.title }}</h3>
Refresh the front-end blog page and make sure that the blog page works.
In order to properly handle the case when a blog post is not found, you can use this condition:
{% if post %}
    Normal blog post markup
{% else %}
    Post not found message
{% endif %}
Displaying the latest blog post on the home page
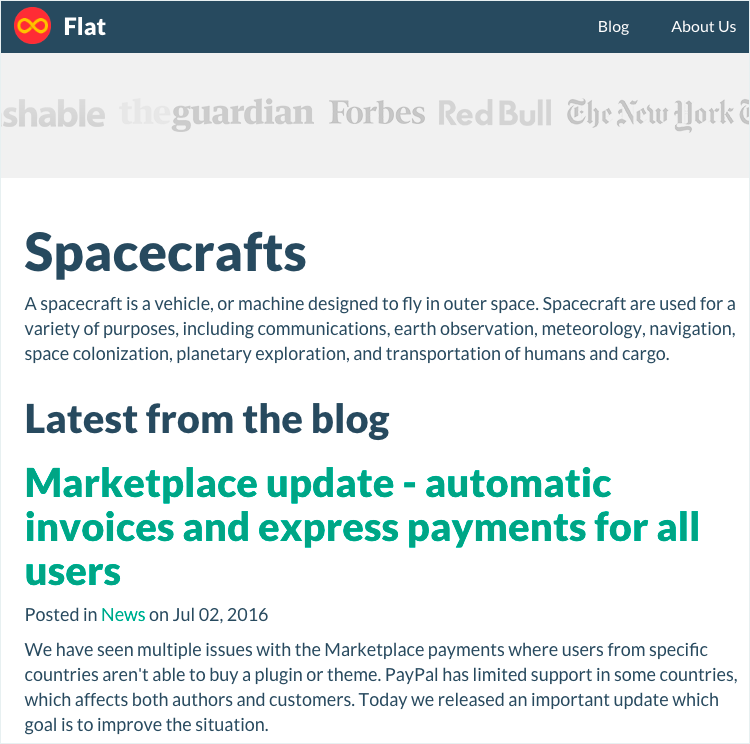
In order to display the latest post on the home page we will use the same Post List component with a simple trick. The component allows you to limit the number of posts it outputs using the postsPerPage property, which should be set to 1 to show exactly one post.
Open the home page in the CMS area and find Post List component in the Components sidebar. Drag the component to the page body code:
<!-- Latest blog post -->
<h3>Latest from the blog</h3>
{% component 'blogPosts' %}
Click the component to access its properties and change the postsPerPage property value to 1.
Save the page and preview it to make sure the latest post is displayed properly. The Post List component outputs pagination by default, however you may hide it using CSS:
.page-home {
    .pagination {
        display: none;
    }
}
Alternatively you can override the component partial, or expand and edit the component markup code in the CMS editor.
Translating blog posts
Now that we have all the blog pages, would it take long to make them translatable? It won't take any time at all! The Translate plugin works in such a way that no special coding is required in the CMS templates. Just provide your posts' content in different languages and October will do the rest.

Please use the comment box if you have questions or suggestions.
In future posts we will explain how to configure October in development and production environments and how to use it for the email marketing. Subscribe to the email newsletter to get notified when we post a new tutorial!