Building a responsive multi-language website with blog and static pages
Posted in Tutorials on Jul 19, 2016
The "multi-language support" item in a website specification could be a deal breaker for many small and medium sized projects. How long would it take to develop an international website with fully translatable navigation, static contents and blog posts? Will the development of these features ruin the project’s budget?
If you do it properly with the right tools, developing a translatable website won't take much longer than a regular website. This two part post explains how it could be done with October.
We're going to build a simple website with just a few pages, which include:
- Home page, which some static content and a reference to the latest blog post.
- About Us page - contains static content.
- 404 page - contains static content.
- Blog page - contains a list of blog posts and categories.
- Blog post page.
- Blog category page.
This project will use free themes and plugins only:
-

Flat UI theme
This theme uses Twitter Bootstrap as a foundation and makes it to look stunning. Currently it's the most downloaded October theme.
-

Translate plugin
Provides universal multi-language capabilities for the website and plugins.
-

Static Pages plugin
Manages static pages, navigation and content. This highly popular plugin is a must have for any website built for non-technical clients.
Preparing the workspace
The simplest way to install October themes and plugins is to create an account on octobercms.com, create a project and bind it to your October application. Any plugin or theme that you add to the project on octobercms.com will be automatically downloaded to your application the next time you update it.
Quick intro into the Translate plugin
With the Translate plugin you can translate blog posts, text in CMS templates as well as pages and content blocks created with the Pages plugin. The full description of all the plugin's features deserves a separate post, in this article we will only show the basics.
The plugin provides two way to switch languages for visitors:
- The language can be specified as a part of the URL (e.g. http://example.com/fr/).
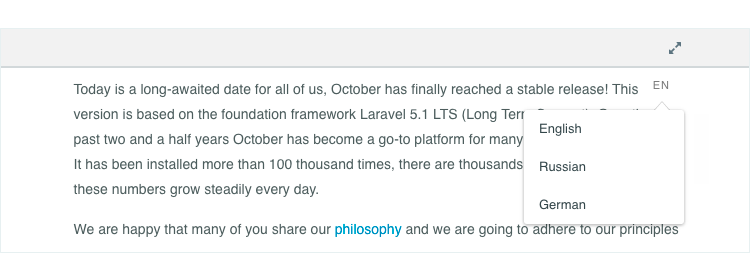
- Visitors can select the language with a drop-down selector, provided by the plugin. We will use the drop-down menu for this project.
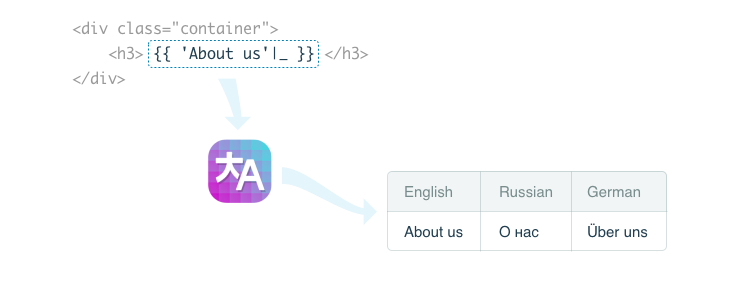
All strings that you output with the underscore Twig filter in CMS templates become translatable and you can edit their translations on the Settings → Translate Messages page. For example:
<title>{{ 'About Us'|_ }}</title>When Translate scans your CMS templates, it adds About Us string to its list and you can set translate it to different languages:
Static pages, content blocks and blog posts don't require any special markup for the translatability. When you edit a blog post you can just select another language in the post editor and write contents in that language.
Cleaning up the theme (optional)
Although it's possible to start with an absolutely blank theme, it makes sense to use an existing theme because it defines a basic website structure and helps you to understand how October themes work. The Flat UI theme is very versatile and contains many pages which we don't need for our small project.
Go ahead and delete shop and portfolio subdirectories from the pages directory. Also, we don't need ui-elements.htm file, and all files in the samples directory except about.htm. The partials directory also contains shop subdirectory which could be deleted as well.
Creating the main menu
There are several ways to create menus in October. For example, Static Pages plugin has a menu management visual tool. It's a perfect option for larger websites where the navigation structure is going to evolve.
Another option is to code the dynamic navigation structure in the theme, like it's done in our Flat UI theme. The main menu is defined in partials/nav.htm and it's very flexible.
The last option is hard-coded (but still translatable) menu items. This project is small and simple, so we will use the that option. Open partials/nav.htm file in a text editor or in the back-end CMS area and remove everything above <nav id="layout-nav" ... tag. Also, remove {{ nav.render_menu(links) }} line and delete the sign in button item.
Now that the navigation is clean, let's add our own menu items. The items will use pure Bootstrap markup with some October juice. The page filter returns URL of a page by its file name. Using this filter is optional, but recommended.
<ul class="nav navbar-nav navbar-right">
  <li class="{{ 'blog' == currentPage ? 'active' }}">
      <a href="{{ 'blog/blog'|page }}">Blog</a>
  </li>
  <li class="{{ 'about' == currentPage ? 'active' }}">
      <a href="{{ 'samples/about'|page }}">About</a>
  </li>
</ul>
Did we forget something? Right, the menu items should be translatable. Use Twig and underscore filter mentioned above. Updated links:
<a href="{{ 'blog/blog'|page }}">{{ 'Blog'|_ }}</a>
...
<a href="{{ 'samples/about'|page }}">{{ 'About'|_ }}</a>
That's it! If you refresh the home page now, you will see menu items in English, and the Translate plugin already found them so they're ready for translation.
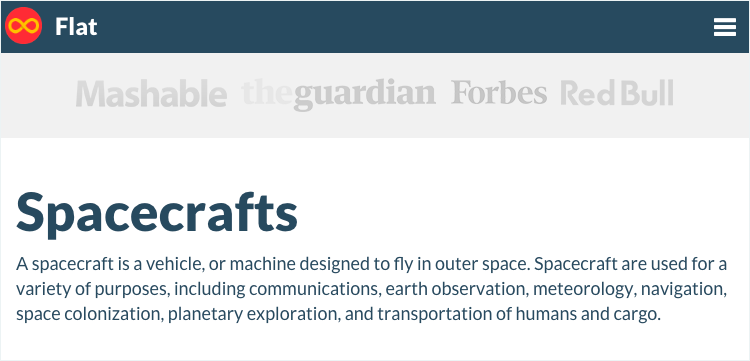
Updating the home page
The original home page of the Flat UI theme contains a signup form, "What we do" section and a list of recent tweets. Again, for simplicity we are going to clean up the page first. Open home.htm file and remove the entire section with class home-title and DIV element with class recent-tweets.
Now we are going to replace the What we do section with an editable content block. This feature is provided by the Static Pages plugin. Go to the Pages section in the October back-end and select the Content tab in the sidebar. Click the Add button and enter home-intro in the File Name field. Put some text in the Content field. Save the content file and we will return to it later.
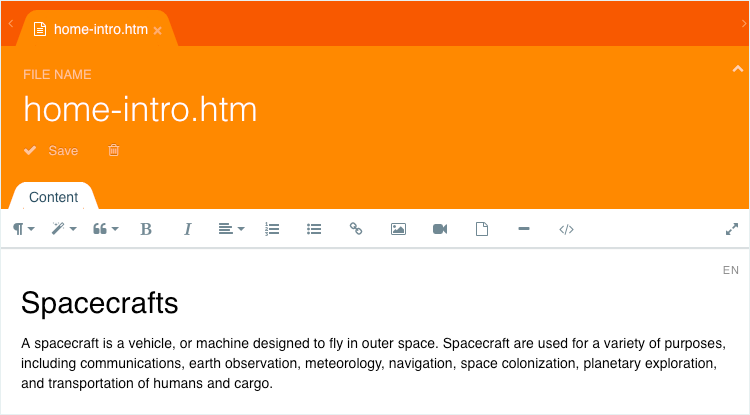
Return to home.htm and delete all contents inside the DIV with class col-sm-12. Replace the code we just removed with the content tag:
{% content "home-intro.htm" %}Save the file and refresh the home page. It should display the text you entered to the content block.
Updating the About and 404 pages
The About and 404 pages are going to contain static translatable content, so the process basically repeats the steps we just performed for the home page. Create new content files in Pages, remove parts of samples/about.htm and 404.htm that you don't need and replace them with the content tag. Hint: inner pages contain headers, which should use the underscore filter to become translatable:
<h3>{{ 'About us'|_ }}</h3>Language selector
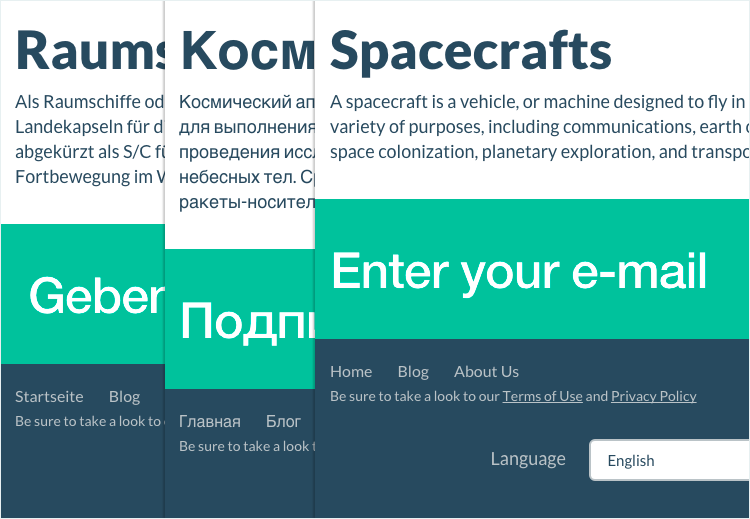
Now we should give our visitors a way to choose their language. The Translate plugin includes the language selector component and it's very easy to add it to the website. Let's place it in the footer, below the footer navigation menu.
Components could be added manually in a text editor, but you can have more fun with the components drag and drop feature in the CMS back-end. In the CMS, find the default.htm layout and open it. Click the Components tab in the sidebar, find the Translate section, expand it and drop the Locale Picker component in the footer section in the HTML editor. That's it! Obviously, the language selector requires some styling, but it's already working.

Adding languages and translating strings
If you open the website now, you will see that the language list contains only one language. You can add more languages on the Settings → Translate → Manage Languages page. After you’ve added other languages, open the Translate messages page.
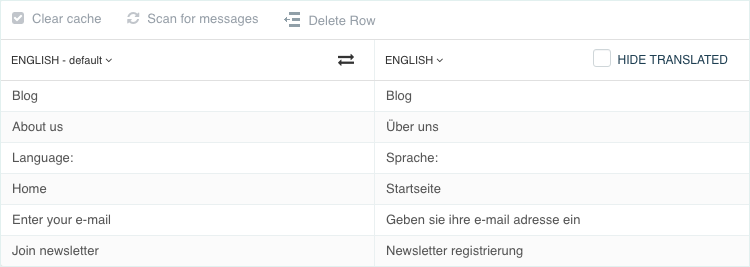
The left part of the grid shows all strings that the Translate plugin has found on the website. It contains some strings from the original Flat theme, which you can either ignore or delete.
The right part shows strings translated to different languages. You can switch languages in the header, with the small drop-down menu.
On the Settings page you can translate all strings that were defined in CMS templates, but what about the content blocks? It's even simpler, the content block editor in the Pages plugin has a language selector in the top right corner. Click it to select another language and enter the translated content. Hint: you might need to reload the Pages area after you added other languages.
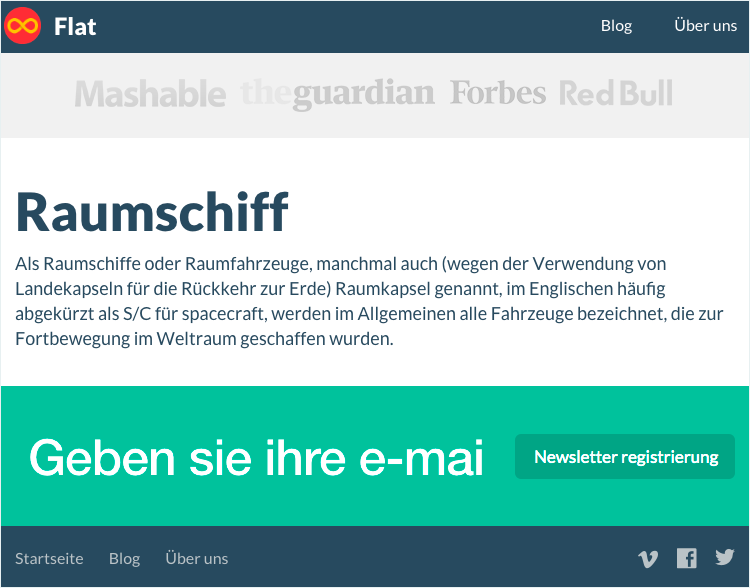
Conclusion
The website theme still contains some strings and sections which haven't been translated, but now you know how to deal with them.
Translatable strings and content blocks are only a tip of the iceberg. With the Pages plugin you can create navigation menus and translatable pages that your clients can edit in WYSIWYG mode. This will be covered in future articles.
If you're eager to learn more ASAP, this is a list of articles and resources that could be helpful:
- Building client-friendly websites, video tutorial
- Getting started with Static Pages, article
- Static Pages - content blocks and placeholders, article
- October Support page
- Bonjour theme - a sample multi-lingual theme with editable static pages and navigation menus.
In the second part of this post we will extend our theme with a translatable blog. Subscribe to get notified about new articles and don't miss the second part of the post!