Affordable email marketing with October CMS
Posted in Tutorials on Aug 22, 2016
Email marketing can be expensive, especially if you have thousands of subscribers and send out emails on a regular basis. Pricing of existing email marketing services like MailChimp is based on the volume, either on the number of subscribers or on the number of emails per month, or both. It might leave you wondering, how we can reduce these mailing expenses?
There are many different self-managed PHP mailing list and newsletter scripts that can help. In this tutorial we'll show you how to use the Campaign Manager plugin to minimize your monthly email costs.
-

Campaign Manager plugin
This plugin allows you to create, design and send fully custom email campaigns.
This plugin is fully integrated with October and maintains its own manageable mailing lists. You can set up a front-end subscription form to collect subscribers. Alternatively you can use a predefined collection of recipients, for example, all the front-end users.
Benefits of barebone email sending services
The plugin can be configured to use any SMTP server. If you deal with thousands of subscribers it's highly recommended to use a specialized email service. There are several great services available today, for example:
- Amazon SES - Amazon Simple Email Service is a cost-effective email service built on the reliable and scalable infrastructure that Amazon.com developed to serve its own customer base.
- SendGrid - one of the largest transactional email sending services. SendGrid delivers over 14 billion emails each month for companies like Spotify and Uber.
If you compare prices for those services with prices for, say, MailChimp you will see that Amazon SES and SendGrid are much cheaper. Amazon charges $0.10 per 1,000 emails. MailChimp's monthly cost for 5,801 - 10,000 subscribers is $70/month. So sending a newsletter to 6,000 subscribers would cost literally a couple of bucks with Amazon versus $70 with MailChimp (that's every month, even if you don't send emails).
That's because Amazon and SendGrid are barebone offerings and focus only on sending emails, while MailChimp provides subscriber list management tools, tools for editing email templates, reporting tools, etc. These are similar features included with the Campaign Manager plugin, which you can use forever without monthly payments. Monitoring features (delivered, bounced, etc. and more) are available for both SES and SendGrid services in their management consoles.
Both Amazon SES and SendGrid support the SMTP interface, so the configuration process should be universal for these and any other service provider. October CMS includes a driver for Amazon SES that uses native SES API, but if you're not familiar with AWS security management it could be simpler to just use SMTP. In this tutorial we will focus on setting up Campaign Manager with Amazon SES.
Installing Campaign Manager
You can purchase Campaign Manager on the October Marketplace. If you don't have an account on October CMS, you will need to sign up first. Next, create a new project, or you can use an existing one, and add Campaign Manager to the project. Any plugin or theme that you add to the project on octobercms.com will be automatically downloaded to your application the next time you update it.
It is always a good idea to read the plugin description and documentation before using the plugin. Make sure to configure your cron table correctly for this plugin to work. Alternatively you can manually process the campaign logic by calling php artisan campaign:run and run it every hour.
Creating the subscription form
If you want to collect emails with a subscription form, you can use the Signup Form component provided by the plugin. You can add the component either to a CMS layout or to a CMS page:
- If you want the signup form to be available on all pages, for example in the footer, then add it to the CMS layout. If you have multiple layouts, you might want to add it to all layouts.
- If the signup form should be available only on a specific page, add the component to that page only.
Open the CMS page or layout in the CMS editor, find the Campaign Manager / Signup form component in the component list and click to include it with the CMS template. Add the following line to the template code where you want the signup form to appear:
{% component 'campaignSignup' %}Note, this code could be defined in a partial instead, referred to by the CMS template. For example, if your global footer markup is defined in the footer.htm partial, add the component itself to the CMS layout, and the {% component %} tag to the footer partial.
The component provides some default markup for the signup form. The easiest way to customize a component's markup is to put the caret to the component tag in the template editor and click the component expansion button in the top right corner of the editor. Below is some simple markup that we've expanded and edited:
<div id="signupFormContainer">
<form
data-request="campaignSignup::onSignup"
data-request-update="'campaignSignup::result': '#signupFormContainer'">
<div class="input-group">
<input name="email" type="text" class="form-control"
placeholder="john.smith@example.com" />
<span class="input-group-btn">
<button class="btn btn-default" type="submit">Subscribe</button>
</span>
</div>
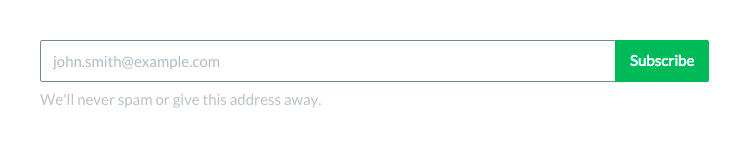
<span class="help-block">We'll never spam or give this address away.</span>
</form>
</div>Here's what the resulting form looks like:
You can override the resulting message by providing a custom partial and using October's component partial overriding technique. For more control, you could supply your own success message partial to the data-request-update attribute.
data-request-update="'my-partial-name': '#signupFormContainer'"In the above example, the contents of my-partial-name will be shown after a user has subscribed.
Creating the campaign template
Campaign templates define the layout of your emails and are no different to regular CMS pages. Different campaigns could look entirely unique, given that they have their own template. While it's not a requirement, multiple templates can be used in this way. Campaign Manager has great documentation which describes how to create new templates.
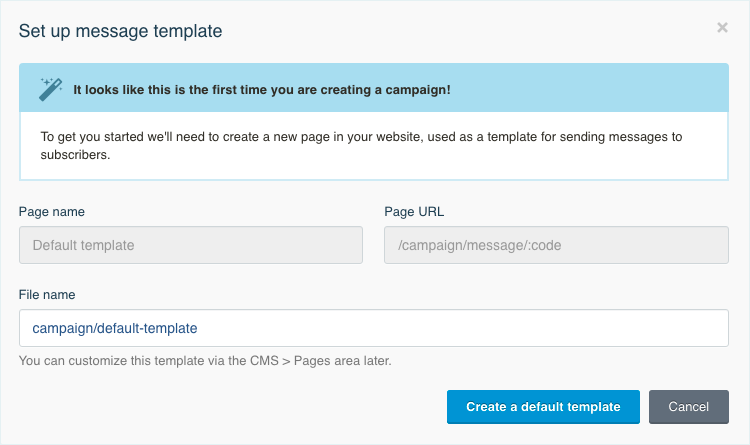
After you've installed the plugin, there are no campaign templates in your CMS theme. Luckily the plugin can automatically generate your first template for you. Go to the Mailing List page in the October back-end and click New Campaign. This will open the Set up message template popup. Click Create a default template button to create your first template.
Once the campaign template is created you can customize it with your favourite HTML editor or in October CMS area. The template structure is quite straightforward and well explained in the plugin documentation. There are a few important differences between regular CMS pages and campaign templates.
Any CSS styles should be defined in the HEAD / STYLE tag or using inline style attributes (recommended); you can't use external CSS files. Additionally, not all CSS styles are supported by email clients (Gmail, Outlook and most others). Some email clients use obsolete rendering engines, and some ignore modern positioning techniques intentionally, so you have to use tables for layouts. There are some great tutorials about designing HTML emails, for example Email Marketing Template Design Guidelines.
Images should be referred using the |app filter, for example:
<img src="{{ 'themes/yourtheme/assets/images/logo.png'|app }}">Note that if you test a campaign on a local machine and refer images from that machine, they will be unavailable to email clients and won't be displayed. For local testing you might use image URLs that point to your production server or any server you use for assets, which is accessible from the Internet.
Creating your first email campaign
Now that you have your campaign template, you can now use it to create your first campaign. Click New Campaign button and select your campaign template. Enter the campaign name corresponding to the campaign subject and click Create campaign.
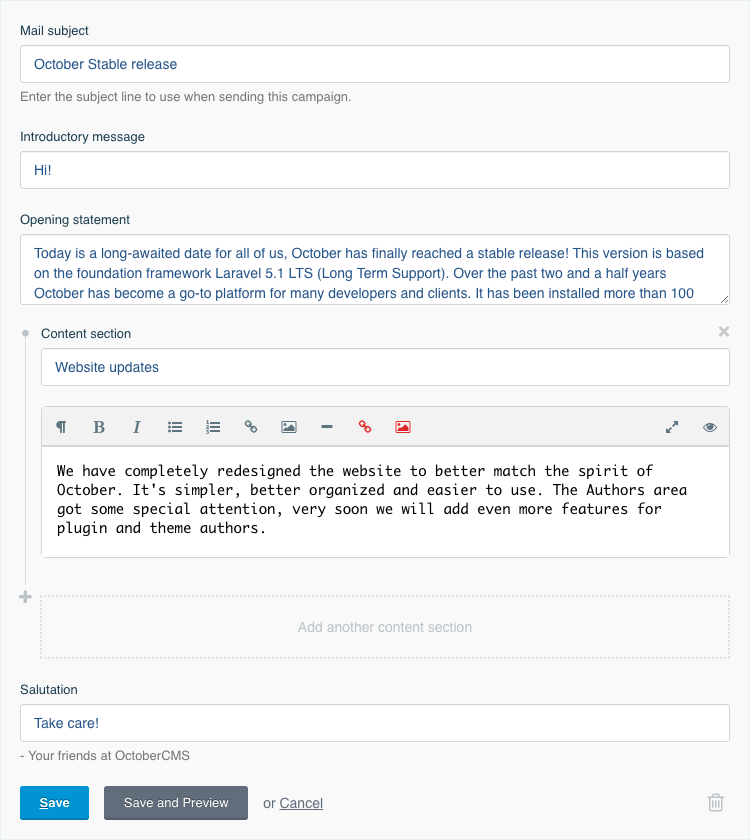
This will open the campaign message editor where you can specify the email subject, introductory message, opening statement, salutation, and content sections. Content sections are just pairs of headings and paragraphs.
Click Continue to save the message and open the Preview Message page. On this page you can what the message is going to look like.
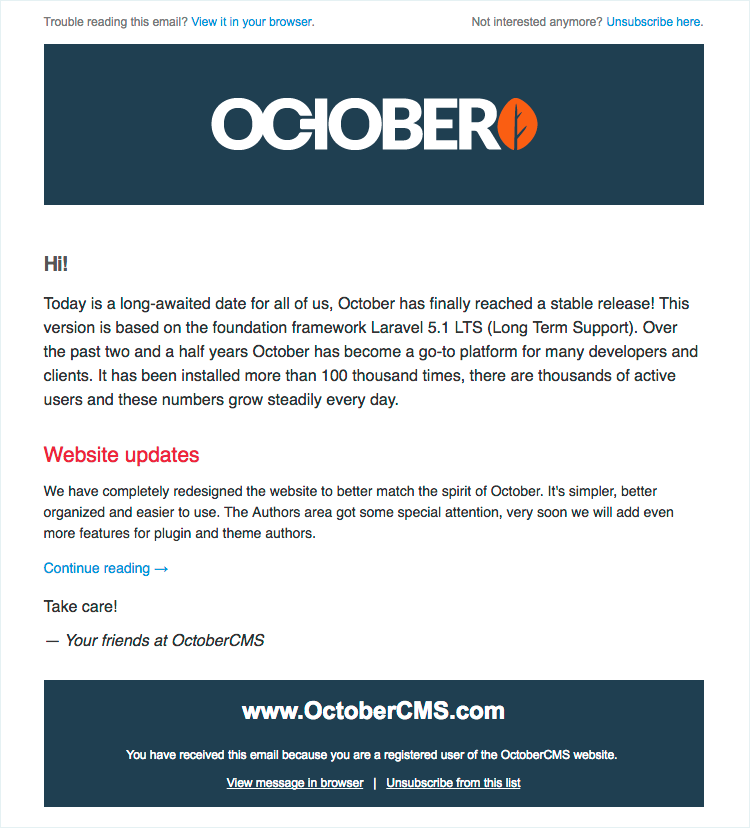
If you need to make any updates in the campaign template, click Refresh template button to reload it. You can send you a test message from the Preview Message screen to see how the message looks in an email client.
After creating a new campaign template, send test emails to yourself and see if it opens correctly in popular email clients, including web-based, desktop and mobile. This check is usually needed only once for each campaign template.
Configuring Amazon SES
Before you can test or launch the campaign, you should configure the email sending mechanism in October CMS. As we mentioned above, for this tutorial we will use Amazon's Simple Email Service (SES) through the SMTP service.
First, create an Amazon AWS account and sign up for SES. You can get started on this page: https://aws.amazon.com/ses/getting-started/. The page contains video tutorials and Create Free Account button.
After logging into AWS Console, find the SES link and click it. You can create SMTP credentials on the SMTP tab, on the left sidebar. You will need to verify your sender email address or domain in order to allow Amazon to send messages from your email address(es). The process is described in SES documentation.
It's also highly recommended to authenticate your email in order to improve email deliverability.
Please note that when you first sign up for SES, your account will be in a sandbox mode, which has some limitations. You will need to request production access before you start sending your public campaigns.
Now that you have the Amazon SES SMTP credentials created you can configure October mailing parameters. Open the Settings → Mail Configuration page and enter the SMTP address and credentials. For testing, make sure have you a valid email address entered in your My Account page (click your user name in the top menu and select My account option).
Wrap up
Congratulations! You can now send email campaigns from your October installation as often as you need.
Subscribe to our newsletter to not miss out the next tutorial. In the next post we will demonstrate how you can use free Google Analytics and Blog plugins together with Campaign Manager to measure readers' interest to different topics you publish.