
The UserBan Plugin provides you with some features that allow you to deny access to certain users in a number of ways.
-  Ban existing User Accounts with a simple checkbox added to their Account settings page.
-  Ban IP Addresses by using the custom backend Banned User Filters.
-  Ban Email Addresses from registering new accounts by using the custom backend Banned User Filters.
You can also provide a reason for why you have banned the user for future reference.
Installation via Command Line
php artisan plugin:install Ndcisiv.UserBan
Requirements
To use this plugin you need to do the following:
- Have the Rainlab.User plugin installed
- Have a {% flash %} section somewhere in your template for displaying Banned Email messages
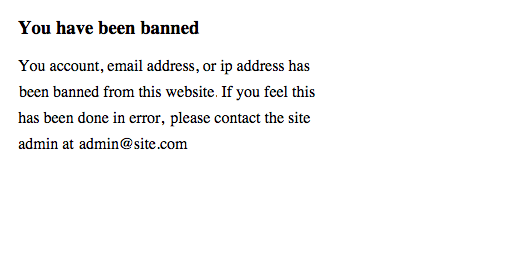
- Create a /banned page to display your Ban Message for Accounts or IP Addresses
- Modify your registration forms AJAX Handler
Creating your ban page
In order to use this plugin you will need to setup a page with the url '/banned' and put in your message of choice to display to users that get banned.
If you don't want to setup something custom, you can use something simple, for example:
<!DOCTYPE html>
<html lang="en">
<head>
    <meta charset="utf-8">
    <meta name="viewport" content="width=device-width, initial-scale=1, maximum-scale=1">
    <meta name="title" content="{{ this.page.title}}">
    <title>{{ this.page.title }}</title>
</head>
<body>
<h3>You have been banned</h3>
<p>Your account or ip address has been banned from this website.  If you feel this has been done in error, please contact the site admin at admin@site.com</p>
</body>
</html>
Changing your AJAX Handler
You will also need to change your AJAX handler on your registration form from 'account::onRegister' to 'emailProtect::onRegister'. This is assuming that you are using 'account' as the Rainlab.User.Account alias, and 'emailProtect' as the Ndcisiv.UserBan.EmailProtect alias. Change accordingly if you use different aliases.
Both the Account component of Rainlab.User as well as the EmailProtect component of this plugin need to be added to your registration page.
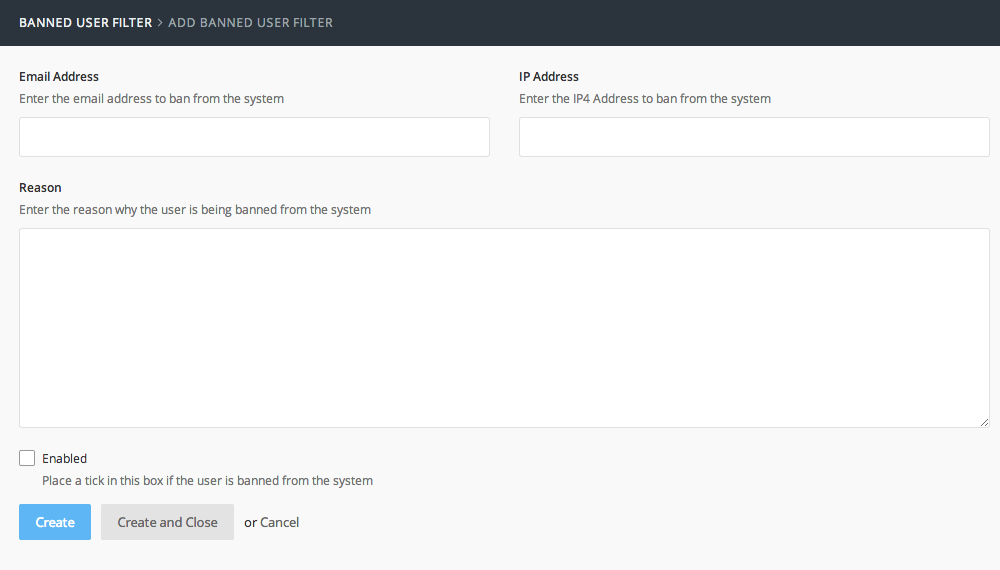
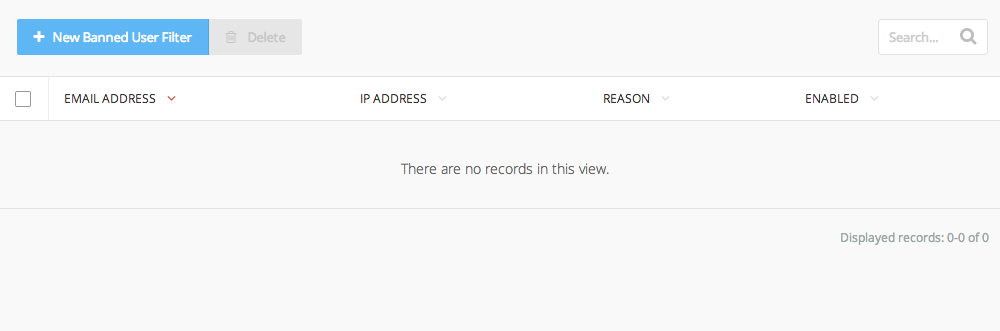
Creating a Banned User Filter
Under the User menu, go to User Ban and click to add a New Banned User Filter. To add an email ban simply type the email address in the Email field, then give a reason why you are banning it and finally put a tick mark in the Enabled box to make it active.
To add an IP ban type the ip address into the IP Address field and provide a reason, finally put a tick mark in the Enabled box and save.
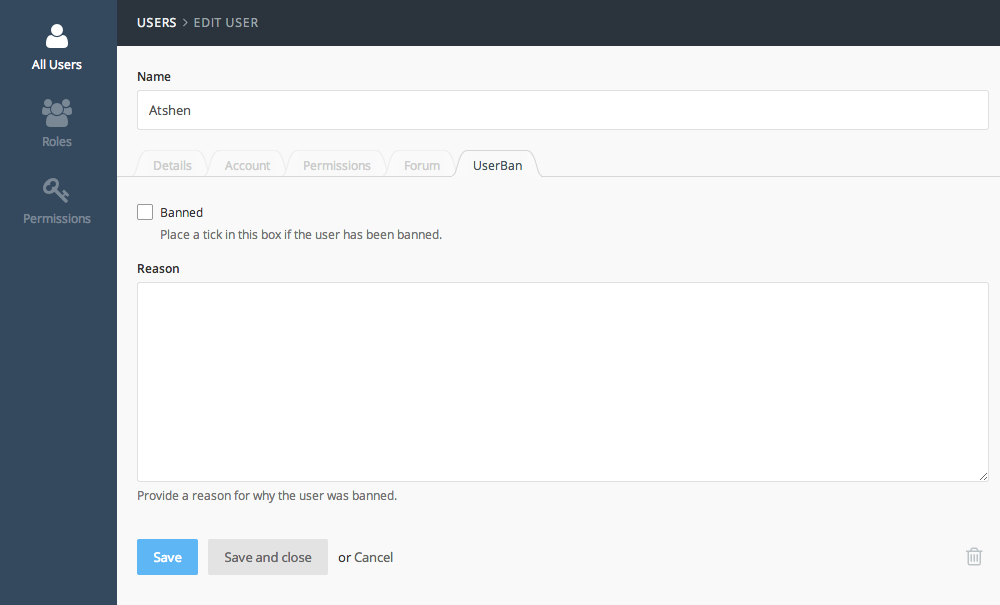
Banning User Accounts
When editing a User account, click on the UserBan tab and put a tick mark in the Banned field, and provide a reason why the user is being banned from the system for reference.
-
This plugin has not been reviewed yet.
-
| 1.0.4 |
Fixed bug in migration file Jan 07, 2015 |
|---|---|
| 1.0.3 |
Added emailProtect component to ban bad emails from registration Jan 04, 2015 |
| 1.0.2 |
Create banned users table Jan 04, 2015 |
| 1.0.1 |
First version of UserBan Jan 04, 2015 |