
Apparatus Plugin
Apparatus is a set of tools for OctoberCMS. Requires PHP7.1
Functionalities
- Dependency injector
- Flash notifications
- List switch replacement
- Background Job Manager
- Simple request sender
- Backend assets and ajax injector
- Event-based business logic scenario processor for painless application behavior management & modification.
Notifications
-
Put
[apparatusFlashMessages]component into your layout and call it with{% component "apparatusFlashMessages" %}after jquery. -
All exceptions and Flash messages will be now covered by Apparatus. You can configure notification design in Settings and in your CSS files.
Dependency Injector
Smooth dependencies injecting into Components. More details in documentation.
Background Job Manager
With Apparatus JobManager you can easily push jobs to queue and see their progress in backend.
Check jobs\SendRequestJob.php for exemplary job structure and documentation for more details.
Background Import Manager
Under development!
Sometimes you need to import large amount of data, like thousands of rows. While October ImportExport behavior works quite splendid, when working with large CSV you need to increase your php.ini and webserver timeouts.
Apparatus provides solution for that - it can push Import process to background queue and allow you to monitor in in Jobs controller. Check documentation for more details.
Right now this feature can only insert new fields, cannot update existing.
ListToggle
Column widget based on Inetis ListSwitch MIT OctoberCMS Plugin. Rewritten to by typesafe and faster.
Use "listtoggle" instead of "switch" and you will get clickable column field that will allow you to switch between true and false for boolean fields. Options explained in documentation.
KnobWidget
Nice widget for selecting number with knob. Options explained in documentation.

Request Sender
Simple curl request sender. DELETE / PUT / GET will be added soon. Examples in documentation.
Scenario Processor
-- early alpha --
Installation via Command Line
php artisan plugin:install Keios.Apparatus
Apparatus - Configuration and Usage
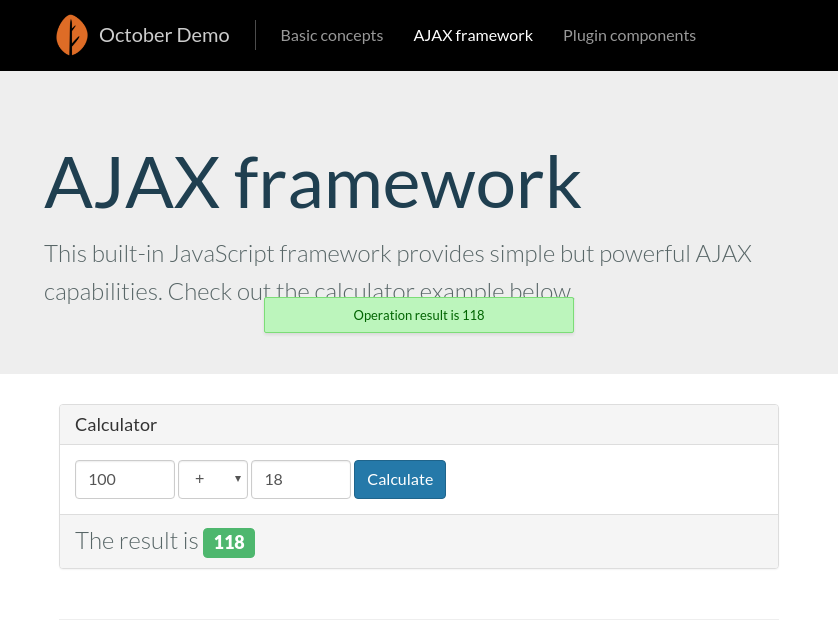
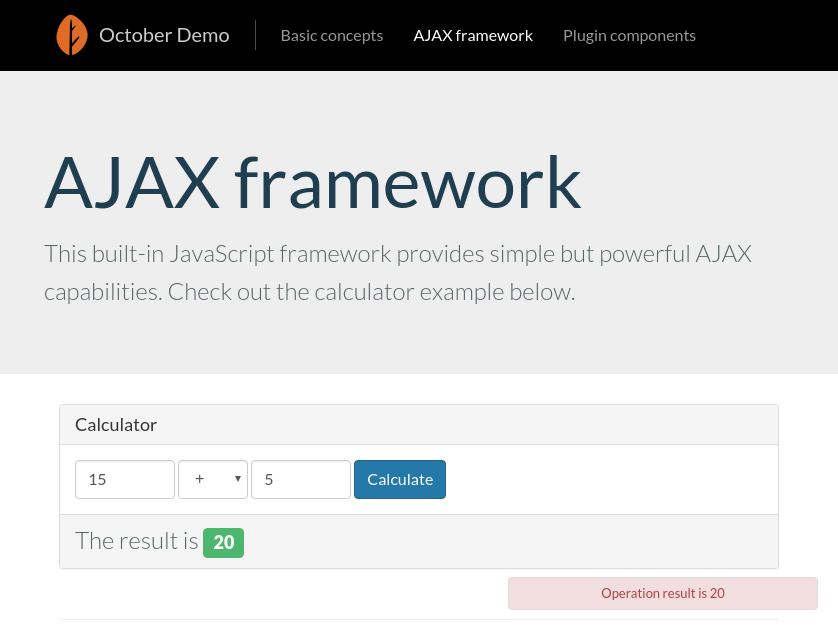
Apparatus Messaging
- To enable messaging, drop apparatusFlashMessages into your layout, below jquery and framework.
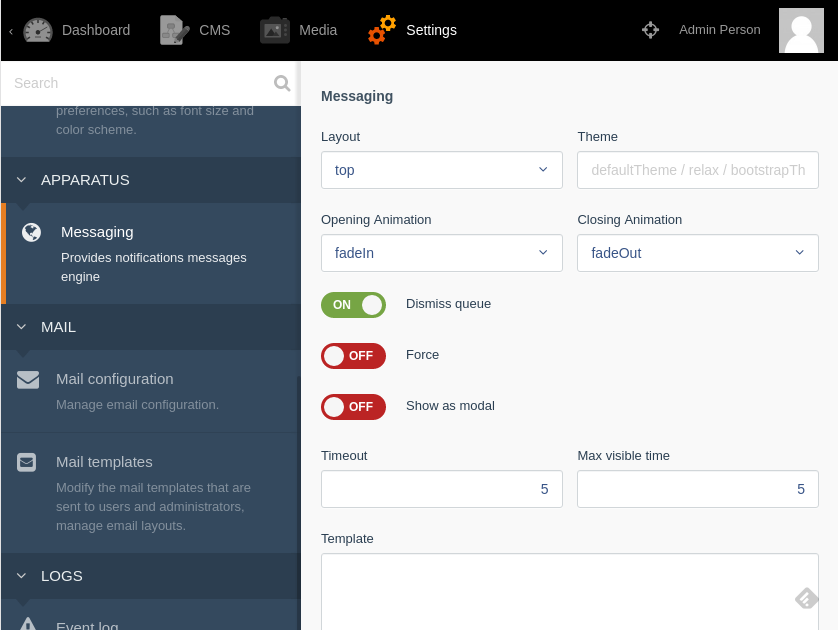
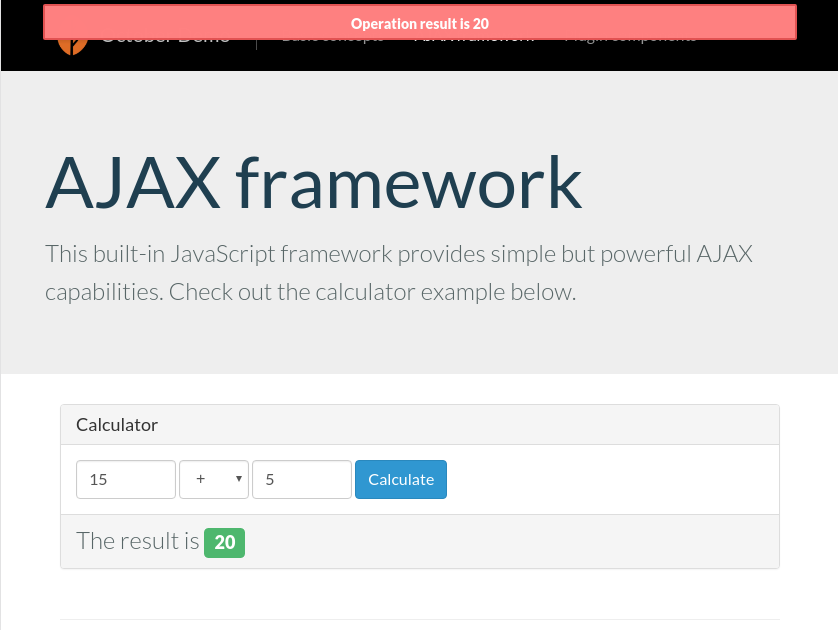
- To configure noty options, go to Backend -> Settings -> Apparatus: Messaging
This will allow you to select notification position and all other important noty settings.
Easiest way to style it with custom CSS, is to create a component overwrite
<!-- themes/mytheme/partials/apparatusFlashMessages -->

<div data-messaging-config
     data-msg-layout="{{ __SELF__.layout }}"
     data-msg-theme="{{ __SELF__.theme }}"
     data-msg-dismiss-queue="{{ __SELF__.dismissQueue }}"
     data-msg-template="{{ __SELF__.template }}"
     data-msg-animation-open="{{ __SELF__.openAnimation }}"
     data-msg-animation-close="{{ __SELF__.closeAnimation }}"
     data-msg-timeout="{{ __SELF__.timeout }}"
     data-msg-force="{{ __SELF__.force }}"
     data-msg-modal="{{ __SELF__.modal }}"
     data-msg-max-visible="{{ __SELF__.maxVisible }}"
        >
</div>
{% flash %}
<script type="text/javascript" language="javascript">
    $(function () {
        $.apparatus.messaging.handleFlashMessage('{{ type }}', '{{ message }}');
    });
</script>
{% endflash %}
<style>
    #noty_top_layout_container .list-group-item-danger {
        background-color: rgba(255, 44, 44, 0.7);
    }
    #noty_top_layout_container .list-group-item-success {
        background-color: rgba(0, 128, 24, 0.7);
    }
    #noty_top_layout_container .list-group-item-warning {
        background-color: rgba(240, 127, 22, 0.7);
    }
</style>
- Exceptions will be automatically shown as error notifications.
- Manual triggering of notifications, eg in ajax requests or after redirects can be made with JS:
$.apparatus.messaging.handleFlashMessage('success', 'Some success message!');
or with Flash (will show up after site refresh, so join it with Redirect::to)
\Flash::success('Some success message!');
return \Redirect::to('/');
Routes Resolver
Routes resolver allows you to find a page with component (optionally with specific properties set) attached. You can find an exemplary class that looks for a route to component Account, considering :code page parameter.
Binding (in Plugin.php register() method or in your plugin Service Provider)
$this->app->singleton(
'acme_plugin.accountcomponentresolver',
    function () {
        return new AccountComponentResolver($this->app->make('apparatus.route.resolver'), $this->app['config']);
    }
);
Resolver class:
<?php namespace Keios\PaymentGateway\Core;

use Keios\Apparatus\Classes\RouteResolver;
use October\Rain\Config\Repository;

class AccountComponentResolver
{

    protected $config;

    protected $resolver;

    public function __construct(RouteResolver $resolver, Repository $config)
    {
        $this->resolver = $resolver;
        $this->config = $config;
    }

    public function resolveFor($code)
    {
        $accountComponentName = $this->config->get('rainlab.user.account', 'account');

        return $this->resolver->resolveParameterizedRouteTo($accountComponentName, 'code', $code);
    }

}
Dependency Injector
Using dependency injector is really easy. Exemplary component using injected Repository class
<?php namespace Acme\Plugin\Components;

use Cms\Classes\ComponentBase;
use Keios\Apparatus\Contracts\NeedsDependencies;
use Acme\Plugin\Classes\WebsiteRepository;

/**
 * Class AcmeComponent
 *
 * @package Acme\Plugin\Components
 */
class AcmeComponent extends ComponentBase implements NeedsDependencies
{

    /**
     * @return array
     */
    public function componentDetails()
    {
        return [
            'name'        => 'Acme Component',
            'description' => 'No description...',
        ];
    }

    /**
     * @return array
     */
    public function defineProperties()
    {
        return [];
    }

    /**
     * @var RepositoryInterface
     */
    protected $recordRepository;

    /**
     * @param WebsiteRepository $websiteRepository
     */
    public function injectWebsiteRepository(WebsiteRepository $websiteRepository)
    {
        $this->recordRepository = $websiteRepository;
    }

    /**
     * Setup page variables
     */
    public function onRun()
    {
        $this->page['records'] = $this->recordRepository->getAll();
    }
}
Backend Injector
Allows you to inject js, css and handlers into controllers from boot method of your Plugin.php
This is useful when you extend one controller with another.
Example:
public function boot(){
    $injector = $this->app->make('apparatus.backend.injector');
    $injector->addCss('/plugins/acme/plugin/assets/css/style.css');
    $injector->addJs('/plugins/acme/plugin/assets/plugin.js');

    $someController = new SomeController();

    $injector->addAjaxHandler('onGetMessages', [$someController, 'onGetMessages']);
    $injector->addAjaxHandler('onPostMessage', [$someController, 'onPostMessage']);
    $injector->addAjaxHandler('onGetTemplate', [$someController, 'onGetTemplate']);
}
Background Jobs
Create your Job, you can base on example in jobs\SendRequestJob.php
When you have your file, you can deploy it from within controller like:
<?php

class SomeComponent {
    public function onDeployJob(){

        $job = new MyJobClass();
        $jobManager = \App::make('Keios\Apparatus\Classes\JobManager');
        $jobManager->dispatch($job, 'Requests sending');

    }
}
If you do not want to clutter your controller (eg if you have job that is run every few minutes), you can use
$jobManager->isSimpleJob(true);
before dispatching - this will remove successful job from DB at the end.
Backgorund Import Manager
Under development!
Right now this feature can only insert new fields, cannot update existing.
Replace:
'Backend.Behaviors.ImportExportController'
with
'Keios.Apparatus.Behaviors.BackgroundImportExportController'
and in your Import model use:
public function importData($results, $sessionKey = null)
{
    $job = new CsvImportJob($result, 'Acme\Plugin\Models\YourModel', true, 20);
    $jobManager = \App::make(JobManager::class);
    $jobId = $jobManager->dispatch($job, 'Rates import');

    return $jobId;
}
CsvImport job takes following arguments:
- results array
- your main model name
- updateExisting boolean flag (under development)
- chunk size (we insert data in chunks during import to make it faster)
You can also replace default CsvImportJob with your own job class.
Now instead of normal Import behavior popups, you will be redirected to Apparatus Job screen:


Remember to replace Sync driver for your queue with something else and start queue worker. We recommend Redis.
Find more about queue configuration here.
ListToggle
Yaml options:
is_something:
    label: Label
    icon: true # show icon instead of yes/no
    titleTrue: 'Yes something' # overwrites onhover title for true
    titleFalse: 'No something' # overwrites onhover title for false
    textTrue: 'Yup' # overwrites button true text
    textFalse: 'Nope' # overwrites button false text
    readOnly: false # disables switching - if you only want to display icon
Knob Widget
Yaml options:
    my_number:
      knobLabel: Label that will appear to the right (not above)
      knobComment: Comment that will appear to the right (not below)
      type: knob
      min: 1 # minimum value
      default: 2 # default value
      max: 30 # max value
      angleOffset: -125 # starting point angle
      angleArc: 250  # whole knob angle
Request Sender
<?php
class SomeClass {

  private $requestSender;
  public function __construct(){
     $this->requestSender = new \Keios\Apparatus\Classes\RequestSender();
  }

  public function addBook(){
    $data = [
     'name' => 'My book',
     'author' => 'Me',
     'bought_at' => '2018-05-05 12:30'
    ];

    $curlResponse = $this->requestSender->sendPostRequest($data, 'http://example.com/api/_mybooks/add');
    }
}
Scenario Factory
[work in progress]
-
This plugin has not been reviewed yet.
-
| 1.1.1 |
Background Import Job May 17, 2018 |
|---|---|
| 1.1.0 |
Full type safety Apr 27, 2018 |
| 1.0.3 |
Queue Jobs support Apr 27, 2018 |
| 1.0.2 |
Optimize command Jun 15, 2017 |
| 1.0.1 |
First version of Apparatus Dec 18, 2016 |