
Features
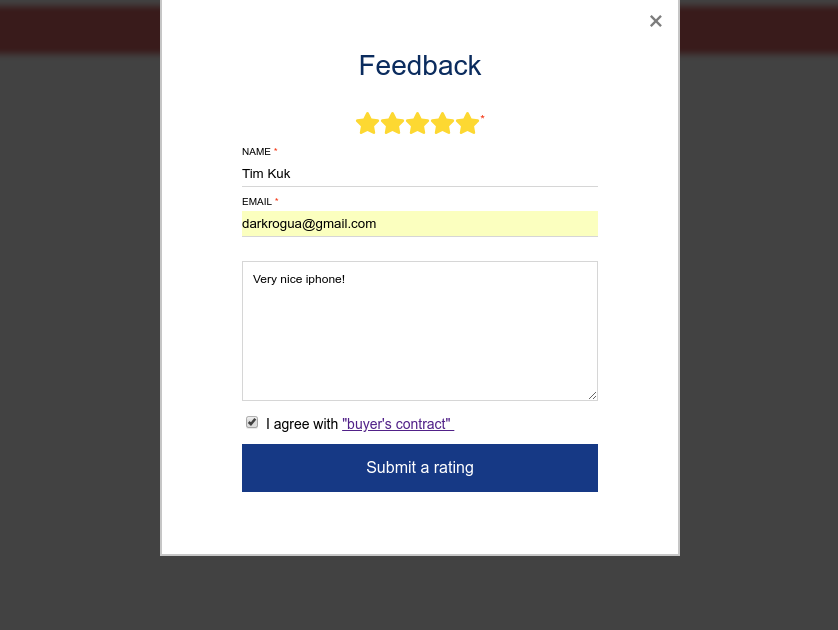
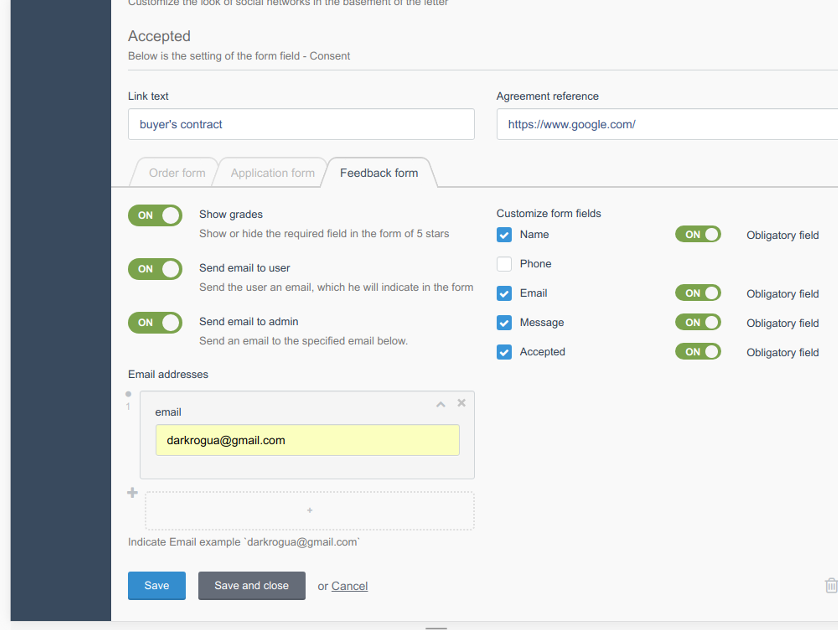
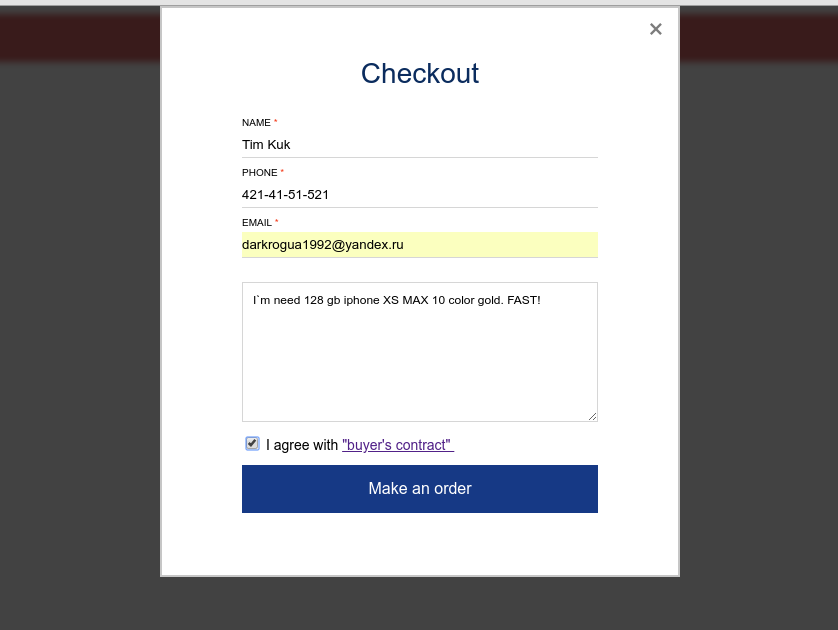
- Forms - create 3 types of forms (order, feedback and request) with custom field settings.
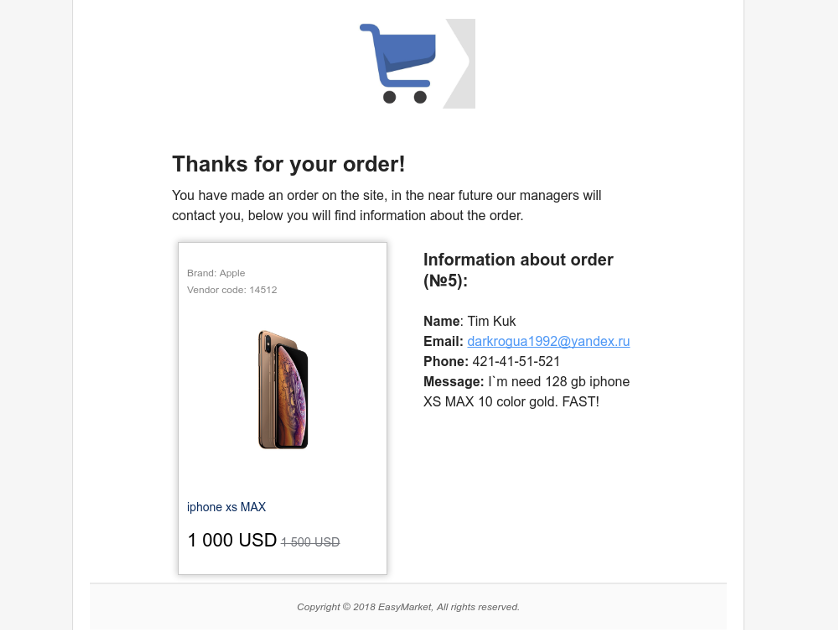
- Mail Alert - get the contents of the forms by Email and notify the customer. For this created 6 templates for email (3 user and 3 admin) examples in the screenshots. The email allows the administrator to go to the order in one click.

- Flexible setting - you can create multiple configurations and switch in one click
- Dual language support - English and Russian


Installation via Command Line
php artisan plugin:install ArtDark.EasyMarket
Installation
- Install the plugin
- Make sure that the layout contains {% styles %}, {% scripts%}, and {% extrase%} frames. Add a component named "Modal" to your template footer. The example below

- Configure the "Modal" component (turn off or turn on jquery, magnific-popup, css style). The example below

- Add a component named "Button" to where you want to call the form.

- In the settings of the Button component, select the form type (request, feedback and order)

- If you want to display the order form then you must pass to the id component of the product, an example below
{% component 'Button' item_id = 1 %}
- Go to the plugin settings and configure the plugin
- Enjoy
Developers
If you want to use another plugin directory, you need to make the following changes to the files
-
Plugin.php - remove
public $require = ['Lovata.Shopaholic'];
-
Models/Order.php - Change to your plugin
use Lovata\Shopaholic\Models\Product; public $belongsTo = [ 'product' => [ 'Lovata\Shopaholic\Models\Product', ] ]; public function onGetProductName() { return [0 => '<span class="noparent"> -- </span>'] + Product::lists('name', 'id'); } -
Classes/Send.php
use Lovata\Shopaholic\Models\Product;
158 line
$product = Product::where('id', $product_id)->first();
-

Ruslan
Found the plugin useful on 21 Oct, 2018
Артем! Сделал все по инструкции, все подключилось, но выводит пустое модальное окно, помоги разобраться, так как этот My clients, что мне нужно! С Ув.
-

Artem Dmitrenko author
Replied on 21 Oct, 2018
В первую очередь, когда добавляете компонент в шаблон необходимо там включить или отключить необходимые параметры. Особое внимание стоит уделить наличию в шаблоне {% framework extras %} {% scripts %} . У Вас плагин корректно установился?(если нет установите вручную Shopaholic плагин, потом этот) Если да, проверьте еще раз посмотрев моё видео https://yadi.sk/i/vzhxSKzKwnCqDQ
-


| 2018.10.6 |
Fix bug seeder settings Dec 06, 2018 |
|---|---|
| 2018.10.5 |
Delete file seeder Dec 06, 2018 |
| 2018.10.4 |
Fix bug seeder settings Dec 06, 2018 |
| 2018.10.3 |
Fix bug seeder settings Oct 23, 2018 |
| 2018.10.2 |
Fix bug validator Oct 11, 2018 |
| 2018.10.1 |
First version plugin Oct 10, 2018 |