Introducing CMS Editor Extensibility API
Posted in Announcements, Tutorials on May 31, 2021
At October CMS we often see our customers use the system features in unexpected ways. The flexibility of the platform makes possible things that we have not thought of. Today we are introducing the CMS Extensibility API that allows you to extend the CMS Editor user interface with custom buttons, popups and fields. We believe you will put that feature to creative use!
There are two ways that you can extend the CMS Editor. The first option adds new fields to the standard CMS Template Settings popup. And the second option allows you to create a new button on the template editor toolbar. To use the Extensibility API you should create a plugin and use its boot() method. For your convenience we created a demo plugin that you can install and try in your October CMS copy.
Extending the standard CMS Template Settings popup
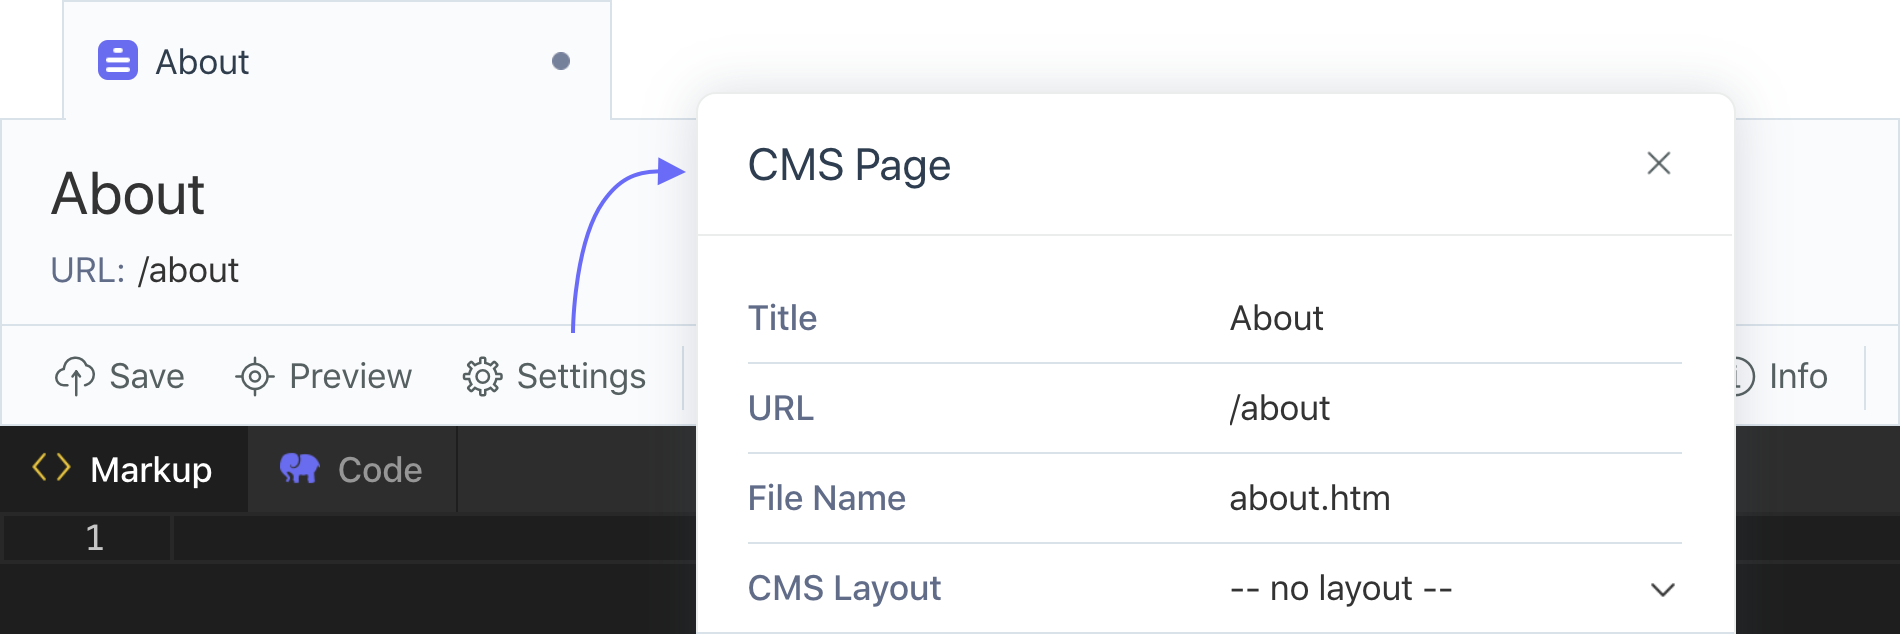
This option allows you to add new fields to the standard CMS Page, Partial or Layout Settings popup which opens when a user clicks the Settings button.

To extend the standard Settings popup you should handle the cms.template.extendTemplateSettingsFields event. The event handler receives the $dataHolder argument, which is an object with two properties - templateType and settings. The templateType property can have one of the following values: “page”, “layout”, “partial”. You can use it to extend only specific CMS template editors.
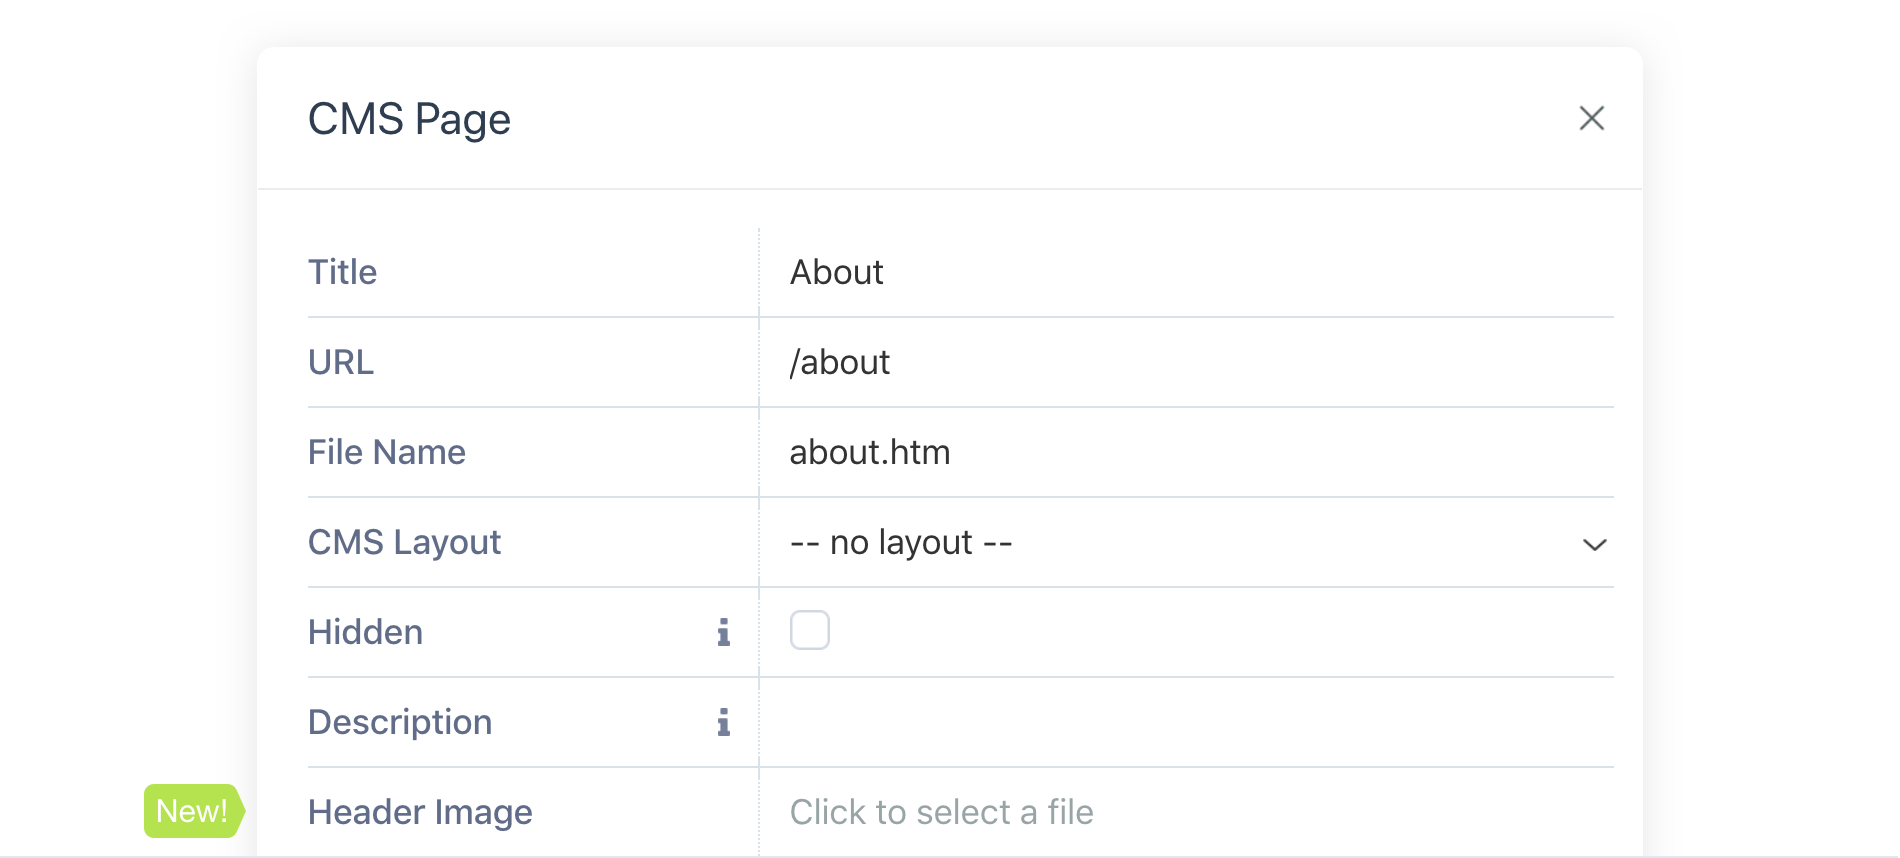
The settings property is an array that you can manipulate to add new properties. New properties must be defined using the Inspector data schema. The snippet below adds the Header Image media finder property:
Event::listen('cms.template.extendTemplateSettingsFields', function ($extension, $dataHolder) {
    if ($dataHolder->templateType === 'page') {
        $dataHolder->settings[] = [
            'property' => 'header_image',
            'title' => 'Header Image',
            'type' => 'mediafinder'
        ];
    }
});
This is what the Settings popup looks like now:

Properties created in CMS templates that way add to the main template settings section and can be accessed in the page code in the following way:
<img src="{{ this.page.header_image }}"/>Please note that all string values in property definitions are localizable so that you can use the 'author.plugin::lang.string' notation instead of providing an exact string.
Adding new buttons to the CMS Template Editor toolbar
Using the cms.template.getTemplateToolbarSettingsButtons event you can create custom buttons on the CMS Template Editor toolbar. New buttons open custom Settings popups that contain fields defined by the event handler.

To add new toolbar buttons you should handle the cms.template.getTemplateToolbarSettingsButtons event. The event handler receives the $dataHolder argument, which is an object with the templateType and buttons properties. The templateType property is described above.
The buttons property is an array of button definitions. A button definition is another array that should have the following properties:
button- the button titleicon- the button icon. You can review the modules/system/assets/ui/less/iconsystem.less file for the list of the currently supported iconspopupTitle- a string containing the popup titleproperties- an array of properties defined using the Inspector data schema
Event::listen('cms.template.getTemplateToolbarSettingsButtons', function ($extension, $dataHolder) {
    if ($dataHolder->templateType === 'page') {
        $dataHolder->buttons[] = [
            'button' => 'My Custom Button',
            'icon' => 'octo-icon-text-emoticons',
            'popupTitle' => 'My Custom Settings',
            'properties' => [
                [
                    'property' => 'facebookPageUrl',
                    'title' => 'Facebook Page URL',
                    'type' => 'string'
                ]
            ]
        ];
    }
});
Now you can access the custom property in the page code:
<a href=”{{viewBag.facebookPageUrl}}”>Go to the Facebook page</a>As you can see, extending CMS templates is easy if you can code a plugin. Stay tuned for more exciting updates - Tailor will be providing similar functionality without any coding. If you haven't heard about Tailor, you are welcome to visit our Portal and vote for that fantastic feature!
Thanks for reading! Let us know in the comments what you think about the extensibility API and the ways you're going to use it.